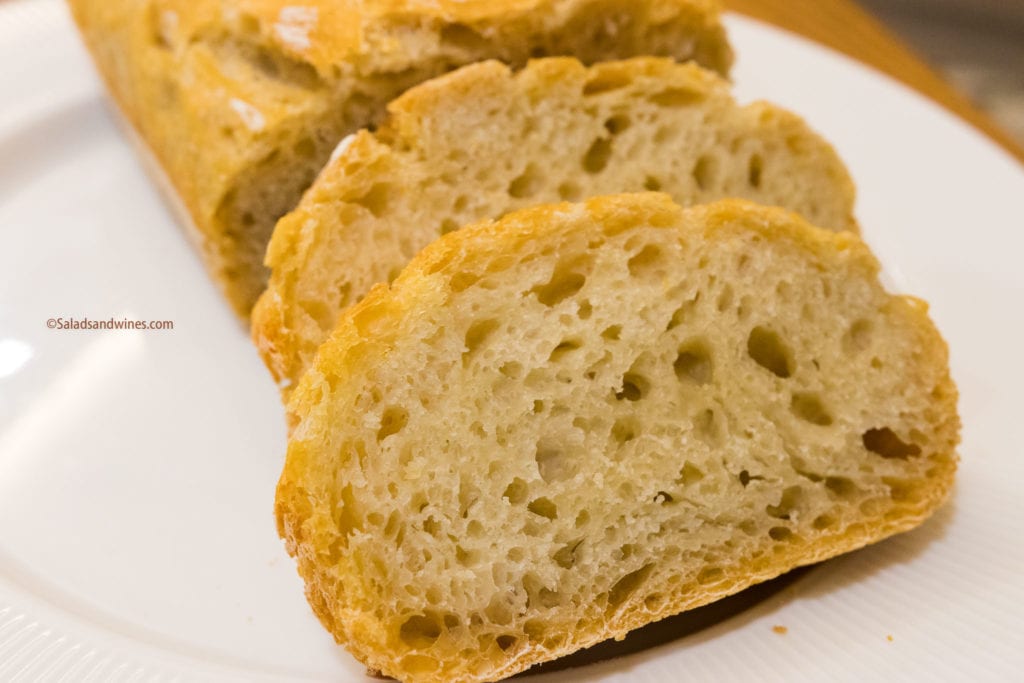
The internet soared obsessed with sourdough baking during the lockdowns and so it intrigued me to try one myself. Basically, a sourdough bread is the traditional way of bread making by developing yeast by naturally fermenting dough, this process takes nearly 10-14 days.
This type of yeast is also known as wild yeast and is very good for health. Bread made using such type of yeast helps our body absorb more nutrients whilst making it easier to digest.
In order to make a sourdough bread, you first need to develop a starter by combining flour and water in a jar, let it ferment for a few days feeding every 12-24 hours. To do this follow the below steps.
Steps to make a sourdough starter?
Day 1: Combine flour and water in equal weights in a transparent jar, mix to dissolve any lumps, then loosely cover the lid of your jar. Using a weighing scale will give you more confidence, but no worries if you don’t have one, just combine the flour and water to make a thick batter like paste and its done. Start with small quantity at first like taking 1/2 cup flour and 1/3 cup water.
Leave it for 24 hours at room temperature or someplace warm (may be near an oven or refrigerator top), ideally a temperature above 26°c works well. In about 6-8 hours, you will see some bubbles and a rising dough. This means the yeast is developing well.
Day 2: After 24 hours, you need give your starter its first feeding. Open the lid of your jar and give a little mix to the paste, you should see some gluten strands and a bubbly loose mixture. Now you need to discard half of it in a separate container (don’t throw away the discard, instead store it in refrigerator, unfed to use in pizza dough, or crackers). (See some amazing recipes below that I tried using sourdough discard)
Now repeat the process of adding equal weights of water and flour to the starter jar, close the lid loosely and leave for another 12-24 hours.
For the next 7-9 days: Keep feeding the starter every 12-24 hours and store at room temperature. The feeding frequencies for you starter depends on the fact wether you reside in warmer or colder region. An easy way to do it is to see if you starter has tiny or large bubbles, it has fallen/deflated after the rise, it means a hungry starter. You can see that by marks on the edges of the jar, look for stripes.
Alternatively, if you see a brownish layer of water above/beneath or in between the layers of starter. Just stir it back and feed the starter as usual. This layer of water is called hooch, you can either throw some away if your starter feels runny, or just stir it bak into the mix. The hooch means your starter is very well hydrated.
You might also notice inactivity after 3-4 days, as the starter may not rise at all post day 3 or 4. Also if it gets thinner in consistency and shows tiny bubbles. Don’t panic, try a few things like stirring once or twice a day and leaving it unfed for next 24-36 hours. Then feed with half of the flour and water quantities and do not discard further (keep that in mind that to make bread you will need at least 1/2 cup).
If the consistency of starter keeps getting thinner, just feed it with some flour and no water at all. Wait to see if it rises. While you follow this approach, the starter shall have mild yeasty odour and its colour must be creamy white along with some bubbles always. Stir to check for bubbles regularly, its all good if it is bubbly.
When is the starter ready?
Ideally your starter is ready when it passes the float test. You should start taking the float test everyday from 7th day onwards. To do this drop a tiny amount of the starter in a bowl full of cold water, if it floats, the starter is ready to use. If your starter floats for a few seconds then drowns, you shall wait a couple of days more. My starter was ready around 10th day even when it stopped rising after day 4. The fact that starter stopping rising didn’t stop the bread dough from rising, my dough risen well and also gave a nice tangy flavour in the final loaf.
How to store and maintain the starter?
Once your starter is 10-14 days old, you can store it inside refrigerator, feeding it once every week. When you wish to make bread, take it out of the fridge a day before and bring it to room temperature. Then feed it, let it rise and fall the next 8-12 hours. It will be ready to use as soon as it has risen to its peak and starts to deflate back. Just whisk it and use. Always leave at least one tbsp of starter in the jar for later use. The older the starter is, the more it adds flavour to the recipes.
If you bake regularly, you can store and maintain your starter at room temperature too. Keep feeding every 24 hours and using the discards for other recipes.
Once the starter is ready, you can make a variety of easy recipes. The most convenient part is you need only one or sometimes few tablespoons of starter to add that tangy flavour. So far I tried the below recipes with sourdough starter, will keep adding more as I make them.

Don’t throw away the discard every time you feed your starter. Use it instead to make these herbed spicy savoury crackers.

Spinach Ham Stromboli is unique and easy to make recipe for lunch/dinner. A perfect blend of sourdough tang with spices and flavours in every single bite.

A beginner’s guide for easy Homemade Sourdough Loaf. Sourdough is bread making through developing natural yeast at home, this yeast is commonly known as sourdough starter.

Homemade Sourdough Veg Pizza will make you forget store brought pizzas for sure as you will certainly prefer this one once you try.

Sourdough Ham & Cheese Scones are a way to go when you need something quick and don’t wish to spend a long time in the kitchen.

Sourdough Pumpkin Dinner Rolls
Sourdough Pumpkin Dinner Rolls are a fantastic delight added in your perfect Sunday dinner. This is one of the recipes I tried using sourdough discard.
